Table of Contents
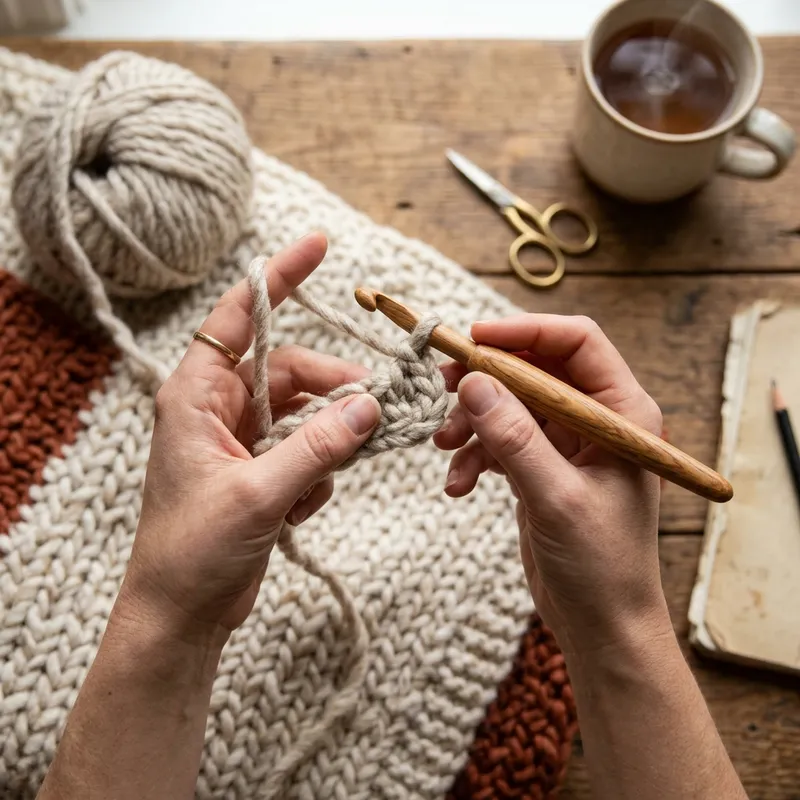
Making a beanie is one of the most satisfying beginner crochet projects. Unlike large blankets that can take weeks, a beanie can be whipped up in a single evening! This pattern uses only the half double crochet (hdc) stitch, which works up quickly and creates a beautiful ribbed texture.
Materials Needed
- Yarn: 1 skein of medium weight (worsted weight) yarn.
- Hook: A 5.5mm (I-9) crochet hook.
- Tools: A yarn needle and scissors.
The Basic Concept
Instead of working in a circle from the top down (which can be tricky for beginners), we are going to crochet a flat rectangle. Once the rectangle is long enough to wrap around your head, we will sew the short ends together to form a tube, and then cinch the top closed!
Step 1: The Foundation
Start by leaving a long tail (about 20 inches) before making your slip knot. You will use this tail later to sew the top of the hat. Chain 40. This will be the height of your beanie. If you want a slouchy beanie, chain 50 instead.
Step 2: The Body
Row 1: Work 1 half double crochet (hdc) in the second chain from the hook, and in each chain across. You should have 39 stitches. Chain 1 and turn.
Row 2 to the End: For the ribbed texture, we will crochet into the “back loops only” (BLO). Work 1 hdc in the back loop of every stitch across the row. Chain 1 and turn.
Repeat Row 2 until your rectangle measures about 19 to 20 inches wide (or until it fits comfortably wrapped around your head).
Step 3: Seaming and Finishing
Once your rectangle is wide enough, fold it in half so the short ends meet. Slip stitch the two short ends together to form a tube. Tie off.
Now, take your yarn needle and thread the long tail you left at the very beginning. Weave the needle in and out along the top edge of the tube. Pull the yarn tight to cinch the top of the hat closed, just like a drawstring bag! Sew a few tight stitches across the hole to secure it.
Weave in all your ends, flip the hat right-side out, and fold up the brim. Congratulations, you’ve just made your first beanie!